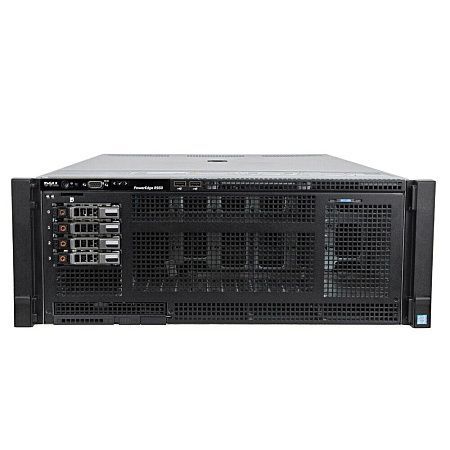
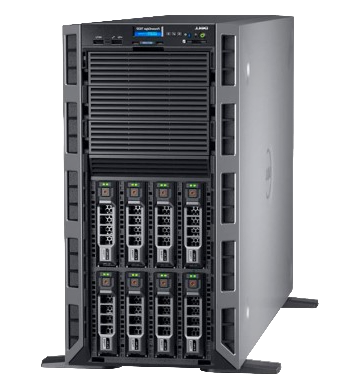
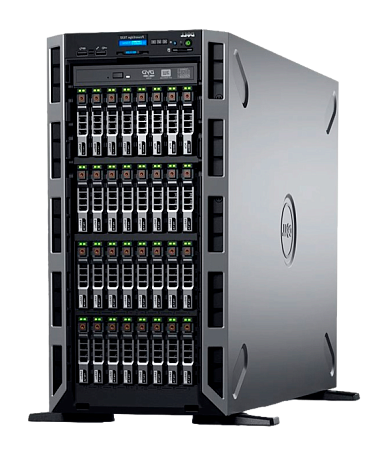
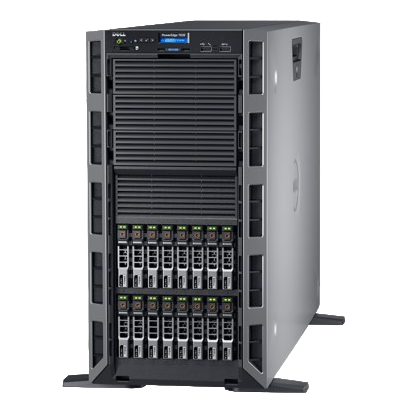
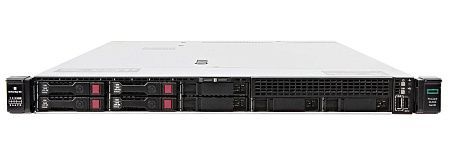
In this article, we'll walk you through the step-by-step process of installing NVIDIA drivers on Ubuntu. We'll use a practical example involving two MSI GeForce RTX 3090 AERO 24G graphics cards with active cooling installed in a Supermicro GPU SuperWorkstation 7049GP-TRT server.

To begin, let's verify whether the graphics cards are functioning correctly by running a test, assuming you have Ubuntu Desktop 20.04.2 LTS as your operating system. We will install NVIDIA drivers for our graphics cards.
First, check if the operating system detects the devices:
lspci | grep VGA

If you have only one graphics card, and your monitor displays something, it means the graphics card is working. In our case, the server has two NVIDIA cards, as seen in the screenshot. I am currently accessing the system remotely through the built-in graphics card in the ASPEED chip.
You can also search for more information by using:
lspci -vnn | grep -E "NVIDIA.*VGA|VGA.*NVIDIA" -A 24

Installing the Driver from the Ubuntu Repository
Ubuntu provides a utility called ubuntu-drivers for managing drivers. It can display a list of recommended drivers for your devices. Run:
ubuntu-drivers devices

The utility may suggest installing the nvidia-driver-460 driver. If the version is suitable, you can use the automatic installer:
ubuntu-drivers autoinstall
Alternatively, you can install it manually:
apt-get install nvidia-driver-460
After the installation, reboot your computer or server.
To monitor the status of the graphics cards, use the nvidia-smi utility, which is installed along with the drivers:
nvidia-smi

For GUI-based information about the graphics cards, you can use NVIDIA X Server Settings.

Installing a Newer Driver Version from a PPA
There is an unofficial repository where newer driver versions, compiled from Nvidia's source, are available.
Switch to the root user. If you previously installed an Nvidia driver, remove it:
apt-get purge nvidia*
Add the PPA repository:
add-apt-repository ppa:graphics-drivers/ppa
Check the list of Nvidia driver versions available in the repository:
apt-get update && clear && apt-cache search nvidia-[0-9] | grep 'binary driver'
Install the desired driver version (replace nvidia-370 with your chosen version) and the program for configuring it:
apt-get install nvidia-370 nvidia-settings
Create an xorg.conf file:
nvidia-xconfig
Reboot your computer:
reboot
Installing the Driver from the Official Nvidia Website
Download the Nvidia driver installer NVIDIA-Linux-XXX-XXX.XXX.run from the official Nvidia website and make it executable in its properties.
Switch to the root user. Install the necessary packages for building the video driver:
apt-get install build-essential dkms mc linux-headers-`uname -r`
If you had a previous Nvidia driver installed, remove it:
apt-get purge nvidia* && clear && nvidia-uninstall || clear
Switch to the console with Ctrl-Alt-F2, log in, and stop the X server:
service lightdm stop
Install the driver using mc:
mc
Select NVIDIA-Linux-XXX-XXX.XXX.run and press "Enter". Accept the license agreement and proceed with the installation by agreeing to all prompts with "Yes". Finally, reboot your computer:
reboot
If video playback is not working after the driver installation, VDPAU may be the issue. You can replace it with the VDPAU package from the repository:
apt-get install --reinstall libvdpau1
Removing the NVIDIA Driver
To uninstall the NVIDIA driver, use the following command in the terminal, console, or recovery mode:
nvidia-uninstall
This will remove the NVIDIA driver from your system.
That's it! You've successfully installed and managed NVIDIA drivers on your Ubuntu system, ensuring optimal performance for your graphics cards. If you have any further questions or need assistance, please don't hesitate to reach out to Newserverlife, the experts in refurbished servers.
Specialists of our company are ready to help you purchase the server and select the necessary server configuration for any required task.


