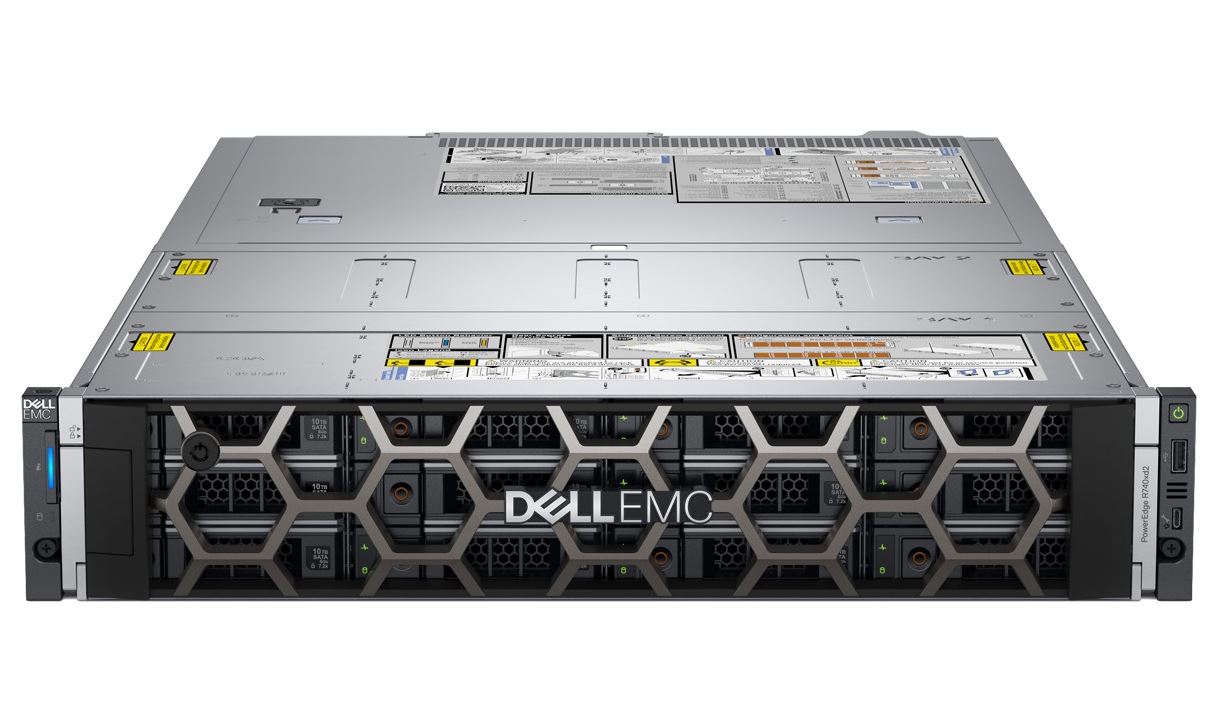
The Dell EMC PowerEdge R740xd2 is a server specifically designed to handle tasks like storing vast amounts of data for applications in video surveillance, hyper-converged solutions (such as Microsoft Storage Spaces and vSAN), content delivery platforms (Content Delivery network), Hadoop, and Microsoft Exchange.
What is the Dell R740xd2?
The Dell R740xd2 organizes vast amounts of disk space in a compact package, made possible by its innovative design changes. This server effectively addresses the growing volume of information and offers flexible scalability. With the R740xd2, response times can be minimized by positioning compute resources near storage resources. Consequently, system stability is maintained even with the increase in resource-intensive tasks, such as streaming multimedia or email transmission.
Comparison of Dell PowerEdge R740 and R740xd2 servers
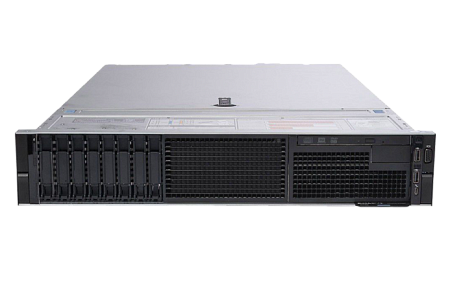
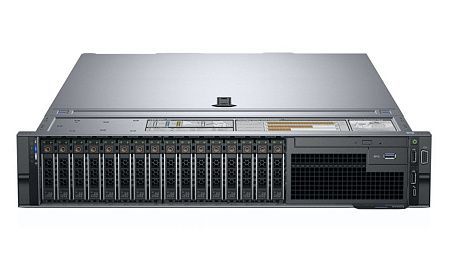
The Dell EMC PowerEdge R740 and R740xd2 are both 2U rackmount servers designed primarily to handle complex workloads with scalable memory, I/O bandwidth, and networking options.
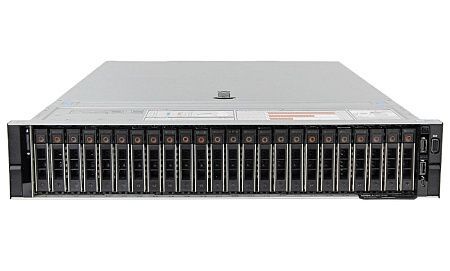
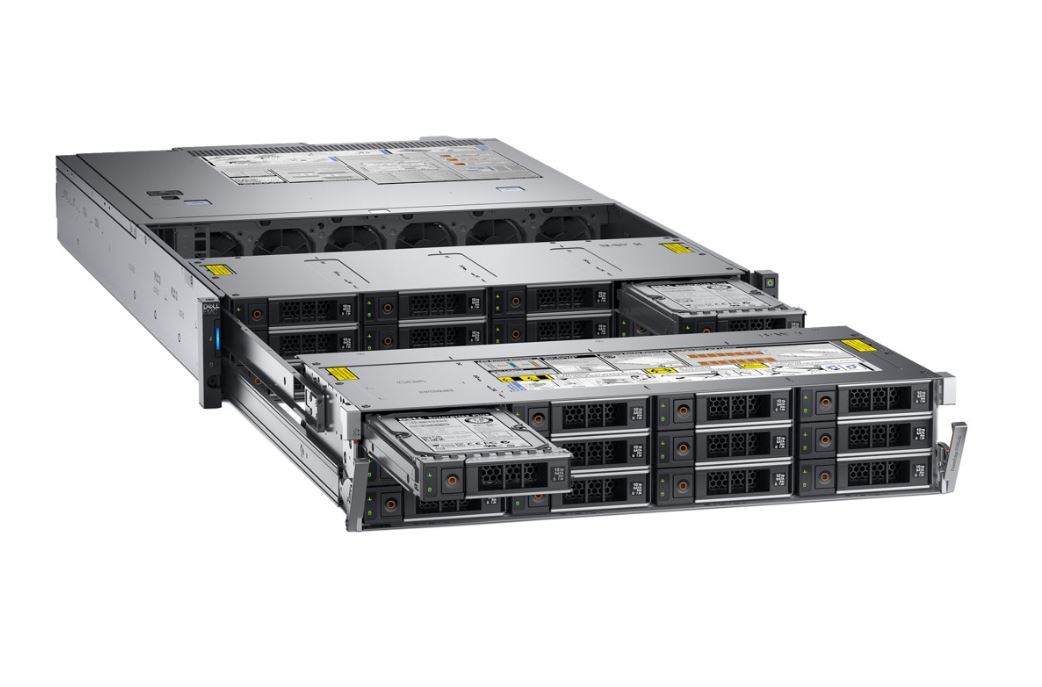
The primary distinction between the Dell PowerEdge R740 and R740xd2 is disk density. The R740xd2 offers 24 x 3.5" drives with an additional 16x3.5" + 10x2.5" option to expand storage in response to increasing workloads. With the R740xd2, there's often no need for external storage subsystems as its total storage capacity exceeds 200 TB, in contrast to the R740's maximum of 80 TB.
Comparison of other datasheet of Dell PowerEdge R740 and Dell PowerEdge R740xd2 is shown in the table:
| General information about the server | Dell PowerEdge R740 | Dell PowerEdge R740xd2 |
| Processor(s) | Up to 2 multi-core Intel Xeon Scalable Processors | Up to 2 multi-core Intel Xeon Scalable Processors |
|---|---|---|
| RAID | PERC H330, PERC H730P 2 ГБ NV, PERC H740P 8 ГБ NV | HBA330, PERC H330, PERC H730P 2 ГБ NV |
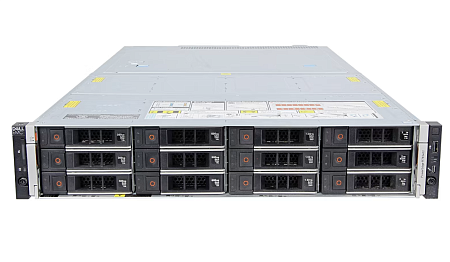
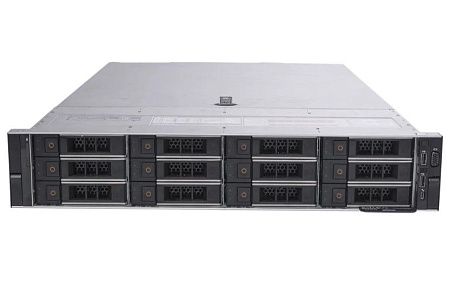
| HDD | Up to 16 x 2.5" or 8 x 3.5" hot-plug SAS, SATA and SAS | Up to 24 x 3.5" hot-swap SAS or up to 16 x 2.5" + 8 x 3.5" hot-swap SAS, SATA and SAS |
| Memory | 24 DIMM slots (maximum 3TB) | 16 DIMM slots (maximum 1TB) |
| RISER | Up to 8 PCIe slots (Gen 3 slots, maximum throughput 4x x16) | Up to 5 PCIe slots (Gen 3 slots, 3x16 + 2x4 throughput) |
| Power | 495W or 750W, 1100W, 1600W and 2000W hot swap reserve | 750W or 1100W, 1100W hot swap reserve |
Despite certain limitations of the R740xd2, there's no need to equip it with additional capacities, as the tasks this server was designed for aren't demanding in that regard.
The Dell R740 series servers support the latest Intel Xeon Scalable processor family, significantly boosting their efficiency and enabling them to handle tasks that demand peak computational resources.
Dell R740xd2 main advantages
The R740xd2 server offers significant potential for expanding disk capacities within a 2U form factor case, allowing for more efficient processing of data packets and full utilization of storage resources.
The scale-up and scale-out capabilities of the R740xd2 are notable, supporting up to 24 3.5" (364 TB) drives in a 2U rack server and up to 520 3.5" (7.2 PB) drives in a 42U rack server. Additionally, the server can be configured in various combinations of SFF SSDs and LFF HDDs to optimize efficiency and cost, while automatically distributing data across tiers.
Consequently, this server is ideally suited for:
- Analyzing large volumes of data;
- Deploying software-defined storage;
- Supporting Big Data systems.
The versatility of the R740xd2 is particularly valuable for cloud service and hosting providers offering colocation services.
Dell R740xd2 spec sheet and additional benefits:
- Integration of OpenManage with VMware vCenter and Microsoft System Center (SC) consoles simplifies server management processes.
- User-friendly interface displays statuses and alerts for all connected physical and virtual devices.
- Supports up to 16 DIMMs, enhancing network connections and eliminating bottlenecks.
- Easily expandable with five PCIe slots.
- Comprehensive lifecycle management includes predictive diagnostics, firmware updates, and automated problem resolution.
- Rapid deployment of configurations across multiple physical servers, tailored to unique workload requirements, via OpenManage Enterprise.
- Streamlined data center IT operations using Dell EMC OpenManage™ tools and solutions.
- Full automation and federated server and back-end storage management across the entire infrastructure with Dell EMC iDRAC9.
Continual server operation ensured 24 validated front-mount, hot-swappable drives. The R740xd2's security is fortified at the architectural level with embedded security tools and signed authenticated firmware.
PowerEdge R740xd2 datasheet
| Characteristic | Description |
| CPU | Up to two Intel Xeon Scalable Processors, up to 22 cores per processor. |
|---|---|
| Memory |
Speed up to 2666 mega transactions per second, 16 DDR4 DIMM slots, 512GB maximum. Only registered DDR4 DIMMs with ECC are supported. |
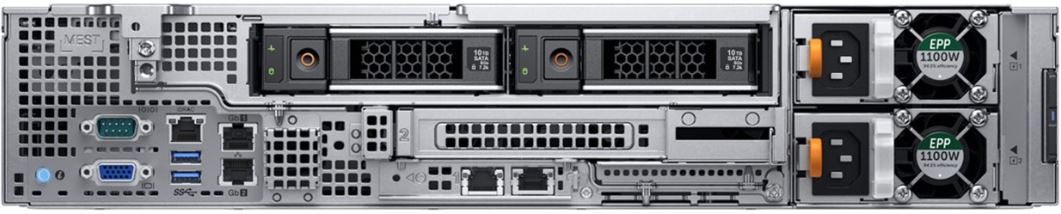
| Power supplies | Platinum: 750 or 1100 W HVDC: 750 or 1100 W Fully redundant hot-pluggable power supplies 6 N+1 redundant fans. |
| Drive bays |
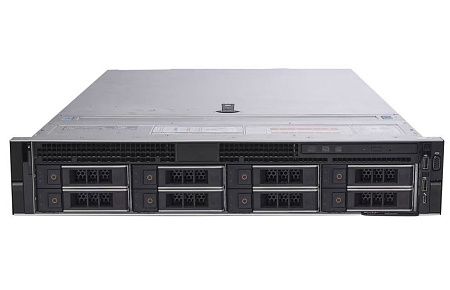
Front Drive Bays: Up to 2x 3.5" SAS/SATA HDD max. 28TB or up to 2 x 2.5" SAS SSDs max. with a capacity of 15.36 TB |
| Storage controllers |
Internal controllers: PERC H730P, H330, software RAID (SWRAID) S140. Boot Optimized Storage: HWRAID, 2x M.2 SSD 240GB or 480GB 12Gb/s SAS HBAs (non-RAID): Internal - HBA330 (non-RAID). |
| Dimensions |
Form Factor: Rack (2U) Chassis width: 448 mm Chassis height: 86.8mm Chassis depth: 810 mm Chassis weight: 40 kg (Dimensions do not include power supply handle, rack mount latches, or bezel). |
| Front panel | Protective bezel (additionally). |
| Built-in controls | iDRAC9 with Lifecycle Controller iDRAC direct connection RESTful iDRAC API with Redfish. |
| OpenManage™ software | OpenManage Enterprise OpenManage Essentials OpenManage Power Center OpenManage Mobile |
| Tools |
Dell EMC iDRAC OpenManage Server Administrator Service Module Repository Manager Dell EMC Server Update Dell EMC System Update IPMI Tool (RACADM Command Line Interface) from Dell EMC Utility Dell EMC Update Catalogs. |
| Integration and connections |
Integration: Microsoft® System Center VMware® vCenter™ BMC TrueSight (available from BMC) Red Hat Ansible Connections: Nagios Core and Nagios XI Microfocus Operations Manager i (OMi) IBM Tivoli Netcool/OMNIbus. |
| Security |
TPM 1.2/2.0 (optional) Cryptographically signed firmware Secure Boot System lock (requires OpenManage Enterprise) Secure data deletion Root of trust on the processor |
| Supported operating systems |
Canonical® Ubuntu® LTS Citrix® XenServer® Microsoft Windows Server® с Hyper-V Red Hat® Enterprise Linux SUSE® Linux Enterprise Server VMware® ESX |
| I/O modules and ports |
Network interfaces: 2 BaseT LOM ports 1 Gigabit Ethernet + (optional LOM expansion board) 2 BaseT 1Gb/s ports, 2 SFP+ 10 Gigabit Ethernet ports, 2 BaseT 10 Gigabit Ethernet ports or 2 SPF+ 25 Gigabit Ethernet ports. Ports on the rear panel: video adapter port, serial port, iDRAC dedicated LAN port, 2 USB 3.0 ports. Ports on the front panel: 1 USB 3.0 port, 1 managed port (micro USB), iDRAC Direct dedicated USB port. Internal ports: 1 USB 3.0 port Video card: VGA PCIe: up to 5 Gen 3 slots (16 lanes). |
There are four configuration options for the PowerEdge R740xd2 server's disks:
- Config 0: 24x 3.5” (12+12 Single PERC)
- Config 1: 24x 3.5” + 2x 3.5” (12+12+2 Single PERC)
- Config 2: 24x 3.5” AND 2x 3.5” SATA (12+12 PERC with rear 2 CS SATA drives)
- Config 3: 24x 3.5” AND 2x 3.5” (12+12 1st PERC AND 2x 3.5” 2nd PERC)
The installation of up to 3 GPU accelerators at 300 W each or 6 at 150 W each supports multi-threaded or graphic-intensive workloads. Special applications, such as analog signal processing, can be managed by up to 3 double-wide FPGAs or 4 single-wide FPGAs.
Conclusion
The Dell PowerEdge R740xd2 boasts high computing power, rapid data transfer rates, resilience to increasing system loads, swift and efficient scalability, and the capacity to process vast amounts of information. Its broad range of operations and user-friendly control interface solidify its position as a reliable and effective storage server. Our specialists are on hand to guide you through selecting the ideal configuration. Simply leave us a request, and we'll assist promptly. We look forward to hearing from you!