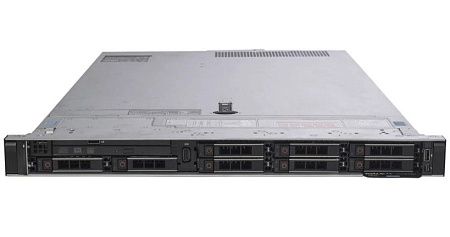
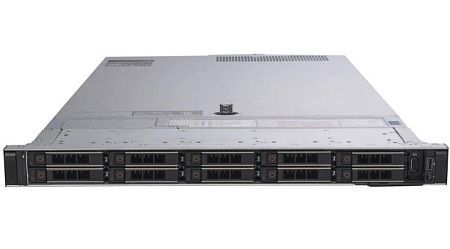
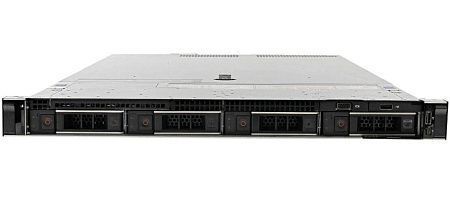
Let`s consider the Dell PowerEdge R640 server. It includes:
- 2 SAS SSDs,
- 2 NVMe SSDs.
Set up two RAID 1 arrays:
- one of the NVMe disks,
- another of the SAS disks.
The first RAID is going to be collected on the PERC H330 SAS controller. It will be used for bootable OS and Ubuntu 18.04.4 LTS will be used as the operating system in the future.
The second RAID is going to be collected on the embedded PERC S140 software controller.

According to the OS, from NVMe disks on the embedded software controller, you can create:
- RAID 1 (for Linux),
- RAID 1, RAID 0, RAID 5, RAID 10 (for Windows).
Environment
Dell PowerEdge R640 server.

There are:
-
2 SAS SSDs:
HDD Dell Seagate 600 GB SAS 10K 1XF230-150 — ST600MM0069

-
2 NVMe SSDs:
SSD Dell EMC NVMe 3.84 TB — KCD5XLUG3T84

Configuring RAID 1 from SAS
To complete the setup, follow these steps:
Turn on the server.

Press F2 when loading the server.

Choose Device Settings.

Next, select Integrated RAID Controller 1: Dell PERC <PERC H330 Mini> Configuration Utility.

You need to switch the controller from HBA mode to RAID mode. Use Configuration Management for this.

Click Convert to RAID Capable.

Both SAS disks that will be included in the RAID array must be selected and clicked OK.

Mark Confirm. Yes.

Confirm that the operation has been performed successfully. Press OK.

Choose Configuration Management.

Let`s create a RAID 1 array from SAS disks. Click Create Virtual Disk.

Select RAID Level – RAID 1. Press Select Physical Disks.

Mark both SAS disks and click Apply Changes.

Confirm that the operation has been performed successfully. Press OK.

Next, you need to specify the name of the array (RAID 1). Choose the Fast initialization type. Create Virtual Disk.

Mark Confirm. Yes.

Confirm that the operation has been performed successfully. Press OK.

No SAS disks. Go Back.

Configuring RAID 1 from NVMe
To complete the setup, follow these steps:
Turn on the server.

Press F2 when loading the server.

Choose System BIOS.

Then select SATA Settings.

Switch Embedded SATA from AHCI Mode to RAID Mode.

Next, you need to confirm your consent to delete data on the disks. OK. Back.

Choose NVMe Settings.

Switch NVMe Mode from Non RAID to RAID.
You will be directed to read the Dell S140 User's Guide. OK. Back.

Click Finish, save the BIOS settings and reboot the server. It is required for the SATA controller to enter RAID mode.

Press F2 when loading the server.

Select Device Settings.

A new item will be added – DELL EMC PERC S140 Configuration Utility. Click it.

Then Select Controller Management.

Next, choose Convert to RAID Capable Disk.

Choose a RAID Type. 2 types will be shown – Linux RAID and Windows RAID.
Choose Linux RAID. Then select Interface Type – NVMe. Mark both NVMe drives. Click Apply Changes.

Confirm the deletion of data from the disks. Yes. Back.

Select Virtual Disk Management.

Click Create Virtual Disk.

RAID Level is automatically RAID 1. Select one of the OS options – RHEL or SLES.
Choose RHEL for Ubuntu. Click Select Physical Disks.

Select NVMe interface type.
Mark necessary disks. Click Apply Changes.

Choose Create Virtual Disk.

It is ready!
Result
You have assembled two RAID 1 arrays:
- the first on a PERC H330 SAS controller,
- the second on a PERC S140 embedded software controller.
You have to install OS Ubuntu 18.04.4 LTS on the first array and mount the second.


