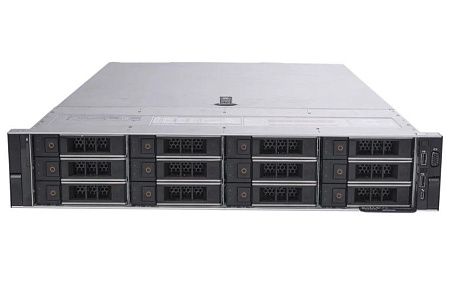
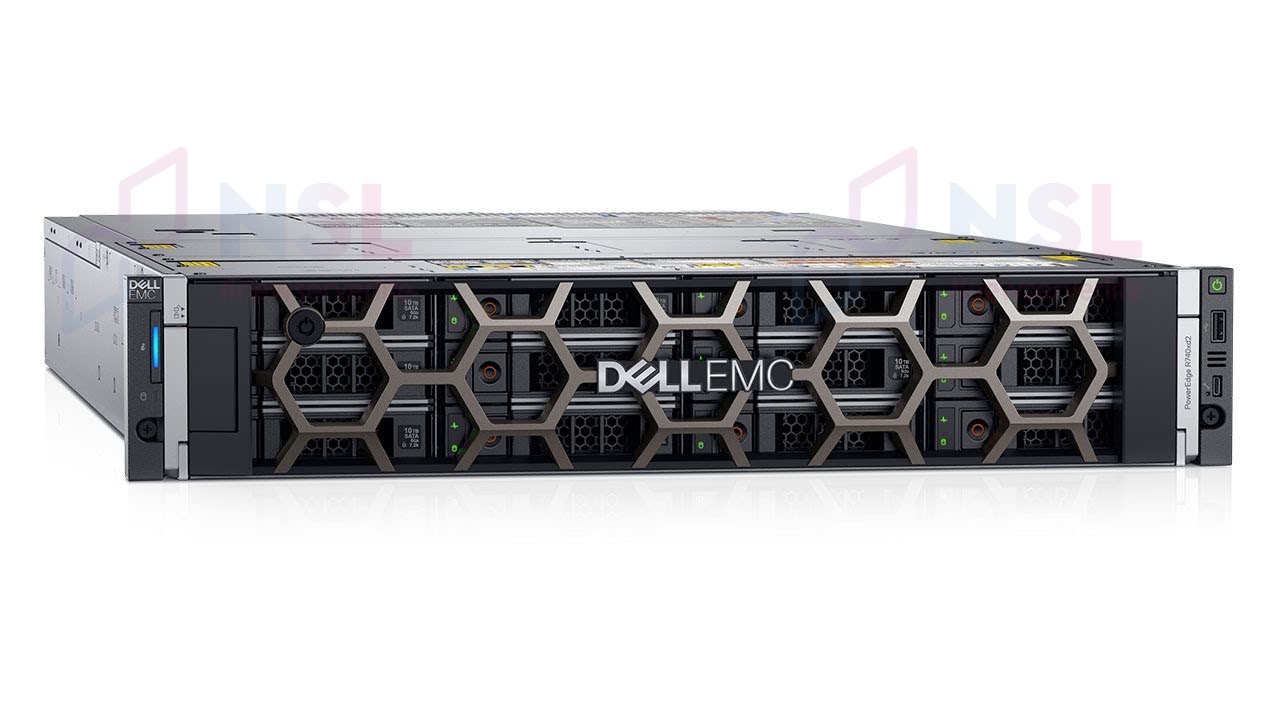
Let's discuss our experience in adding drives to the Dell PowerEdge R740xd2 server. The server is notable for its compact size, occupying only two rack units, yet it can accommodate a whopping 24 drives in a 3.5" form factor. Plus, an additional couple in 2.5". The first 12 SATA drives we set up in RAID6 on the hardware RAID controller PERC H730P Mini (Embedded). There are still 12 slots available, but we'll add just 9 more, this time SAS. Later, we will configure them in RAID6. The volume of the new array will be 70 TB. In the future, we'll add three more and increase the volume to 100 TB.
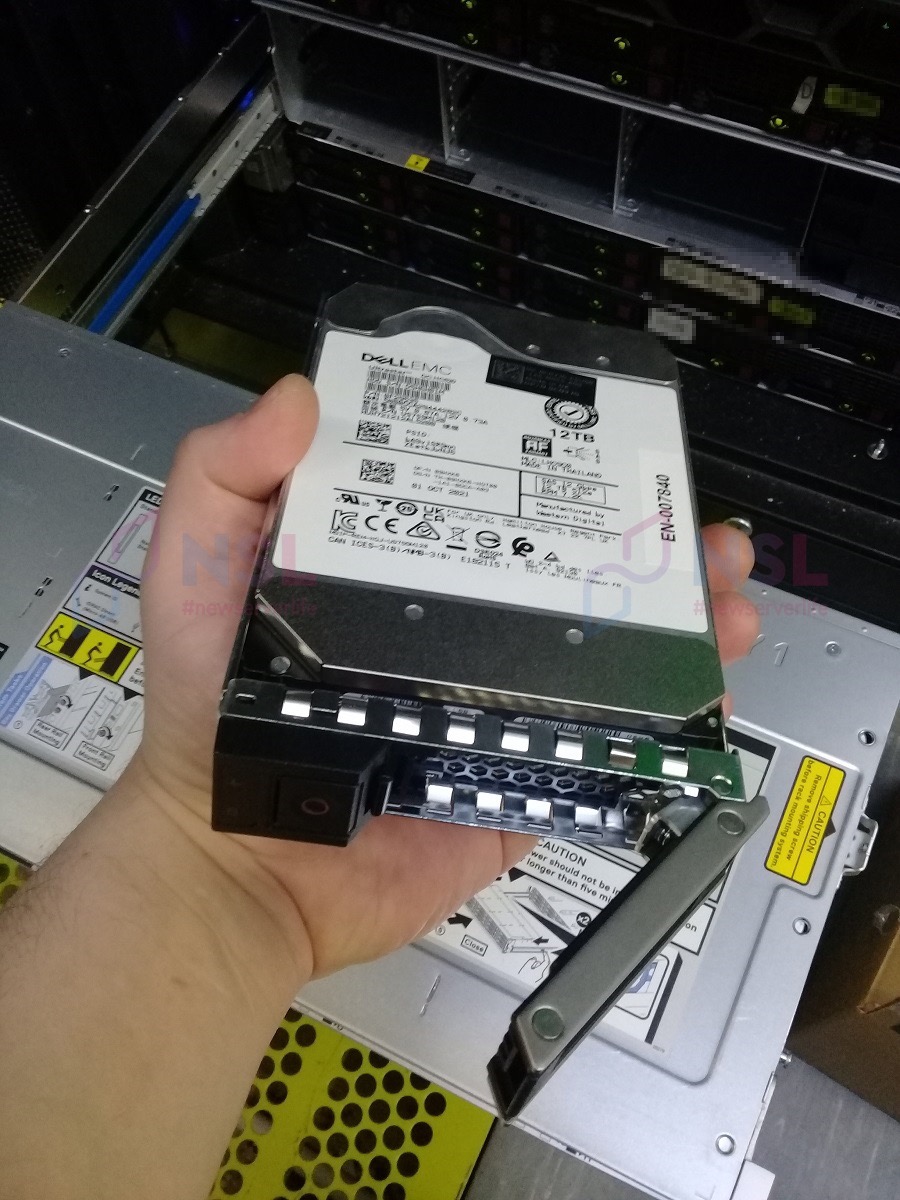
The drives are Dell HDD 09XK6 SAS 12 Gbps 12TB 7.2K.
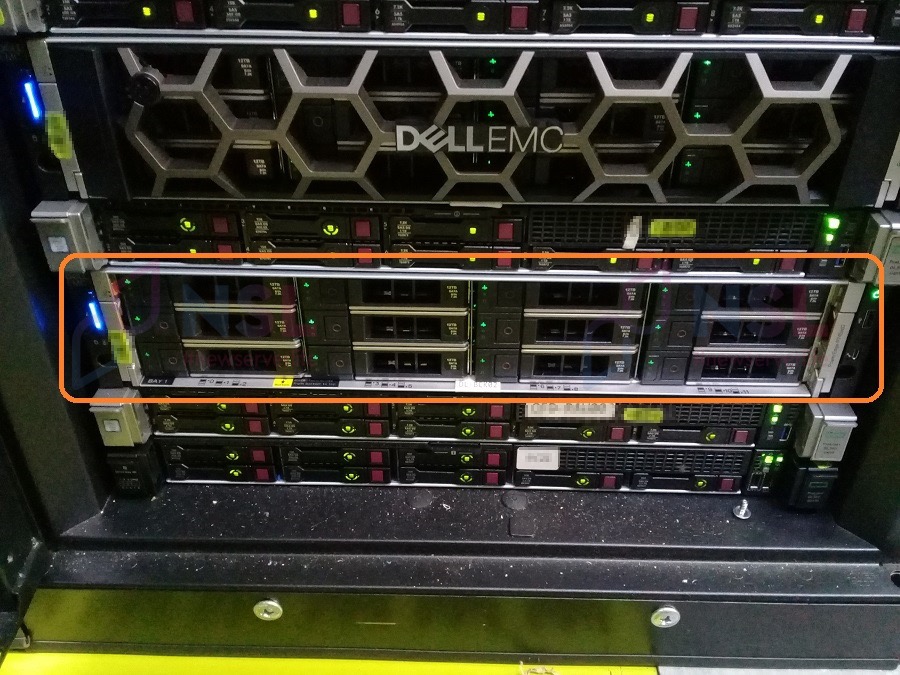
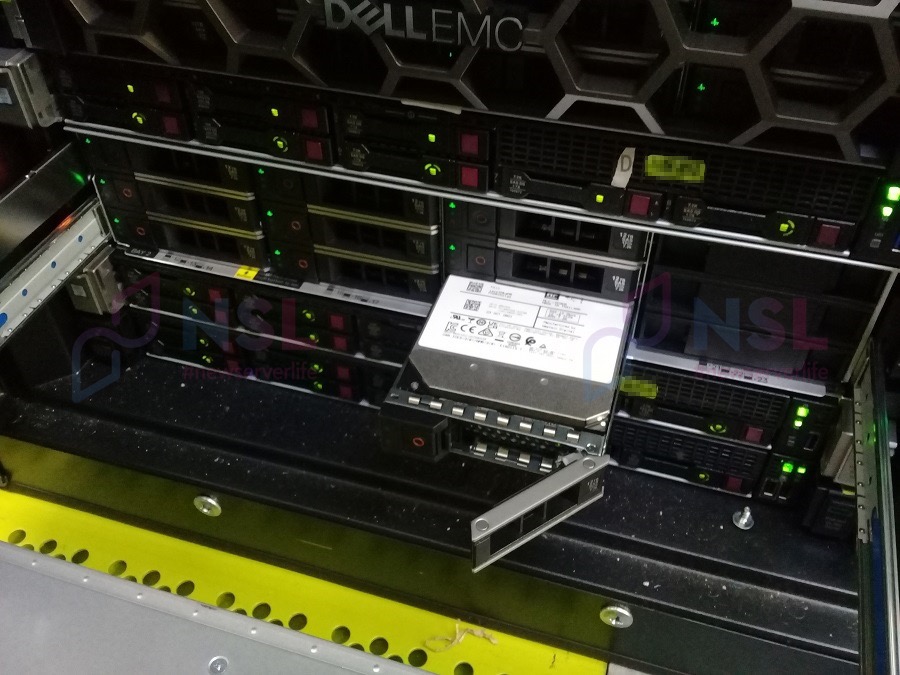
The first part of the entire process is the installation of the drives. We'll be installing the drives without shutting down the server. The front drive bay is full, so we need to access the second one.
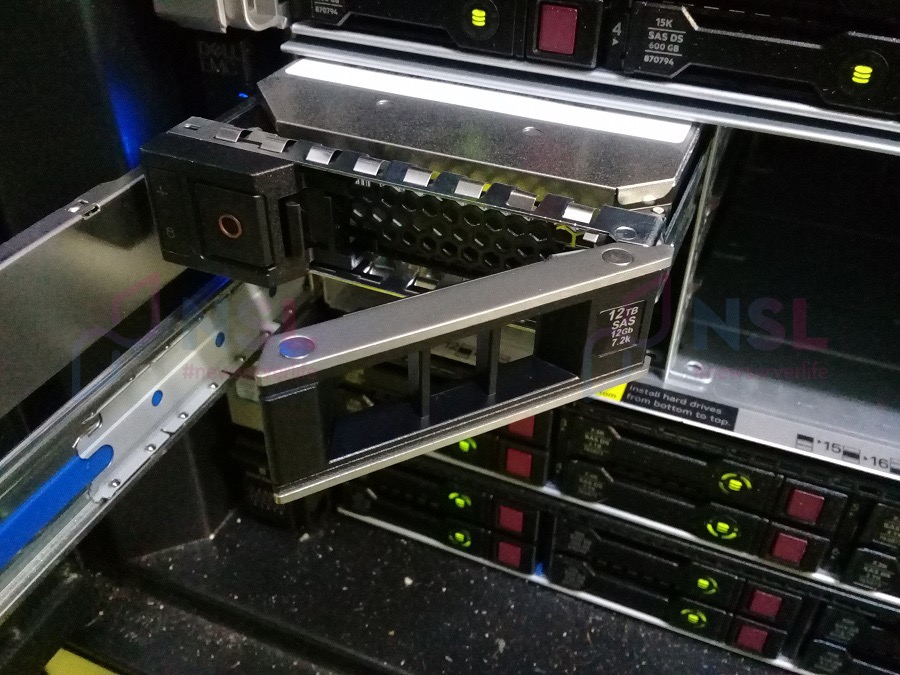
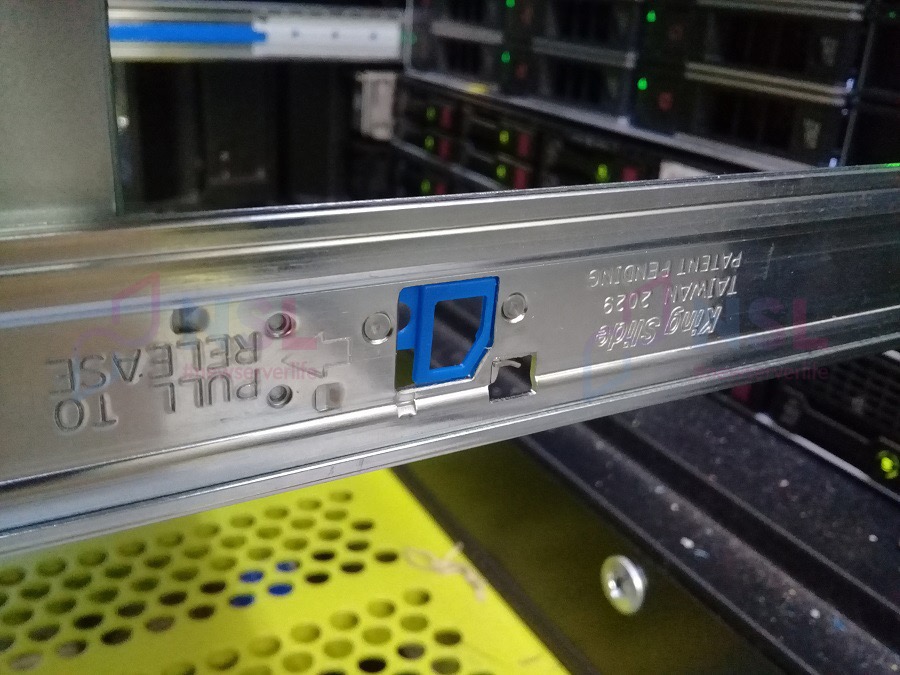
To slide out the tray, you need to unlock the latch and pull the levers towards you. Extend it until it clicks into place. The server continues to run, and the opening event is logged in the iDRAC.
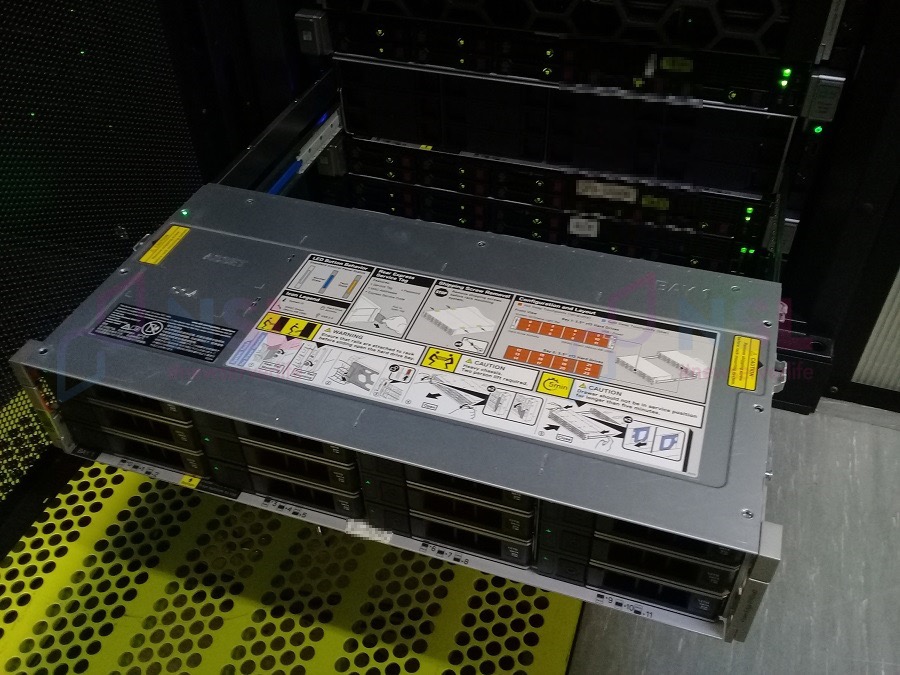
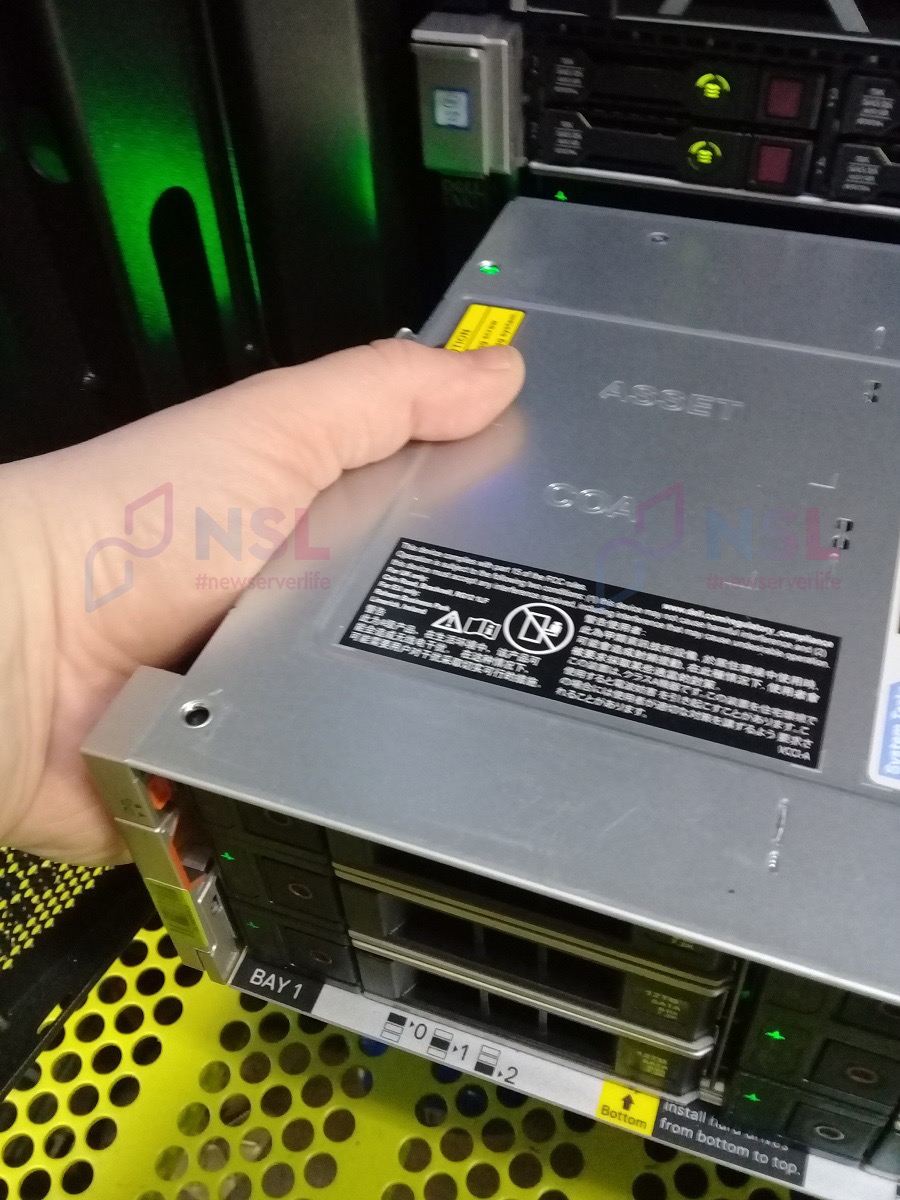
Now, we can access the second bay. There's ample space to install the drives. We've already removed the blanks so they wouldn't interfere with the installation. Slots from 12 to 23 are available.
For ease of operation, it's advisable to position these servers lower in the rack, making it more convenient to slide them out. We've carefully wrapped the drives in bubble wrap and stored them in a box.
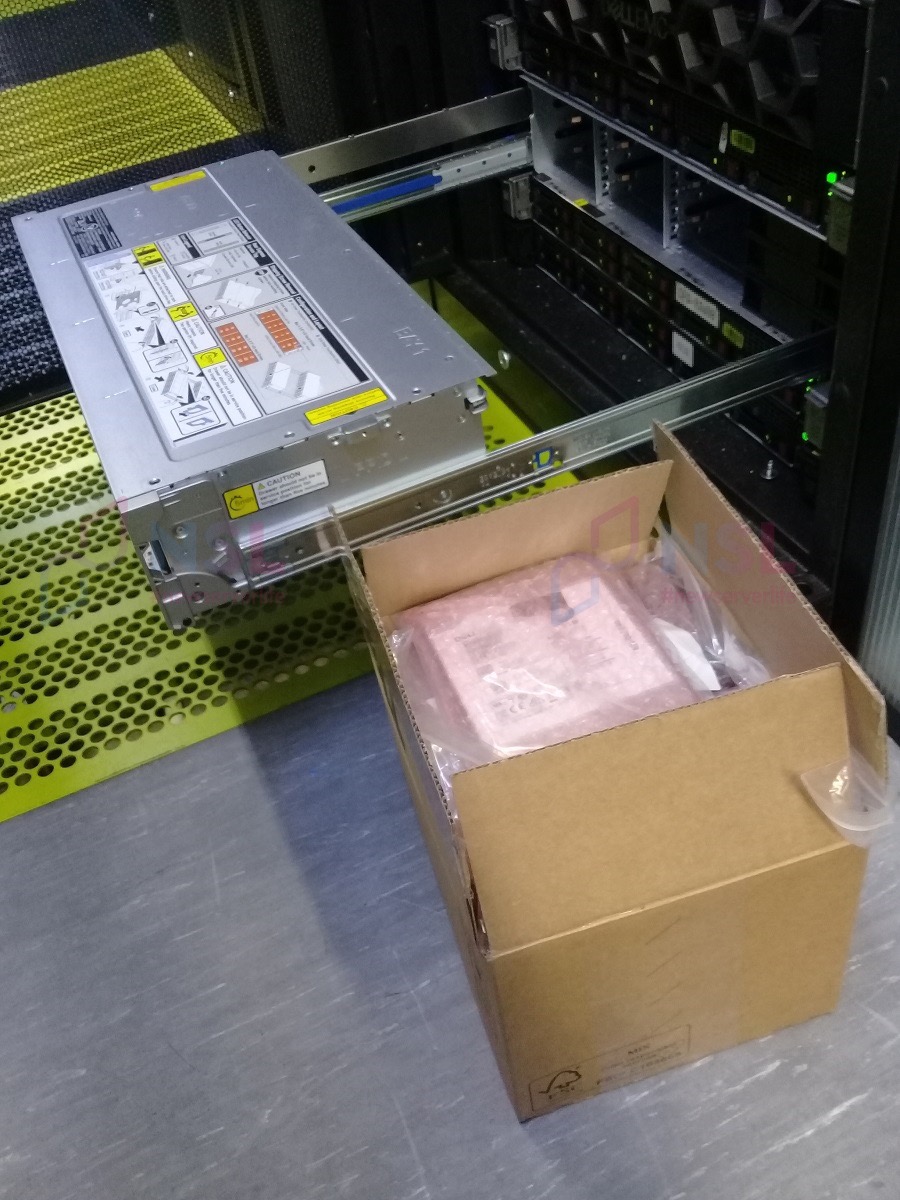
We proceed with the installation. Take your time when doing this. Not only do you need to install the drives, but also ensure you don't accidentally bump the drives in the first bay with your knee.
Sometimes, while focusing on one server, it's easy to forget about the others. You might accidentally press a button. So, it's a good practice to keep the blanks on the front panel. If possible, purchase servers with these included.
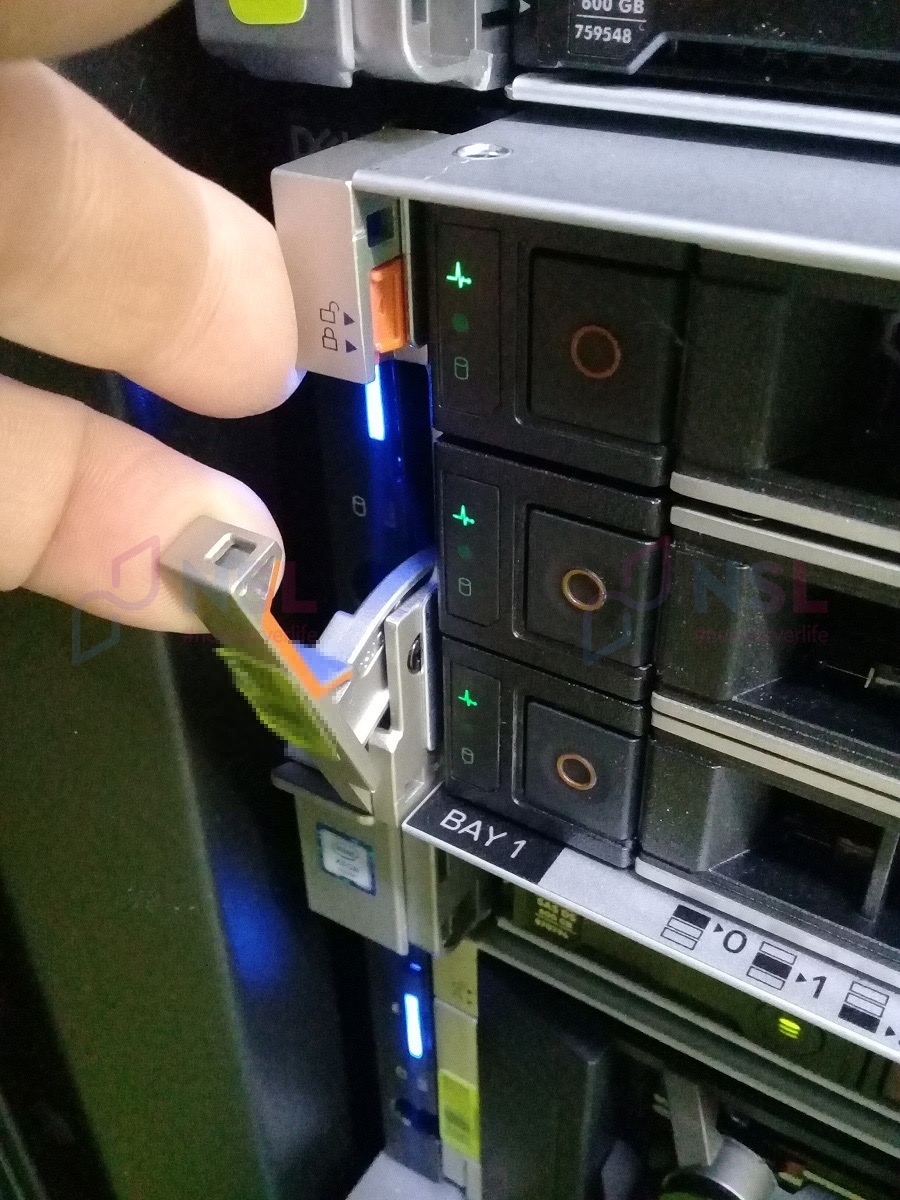
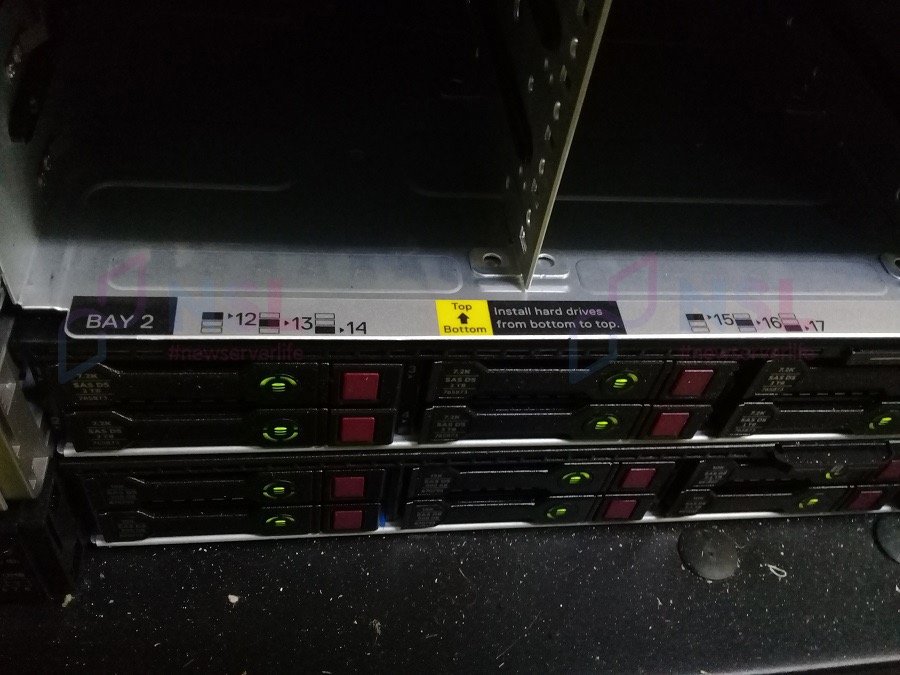
Install the drives one by one, monitoring the LED indicators. If you encounter a faulty drive, you'll know immediately.
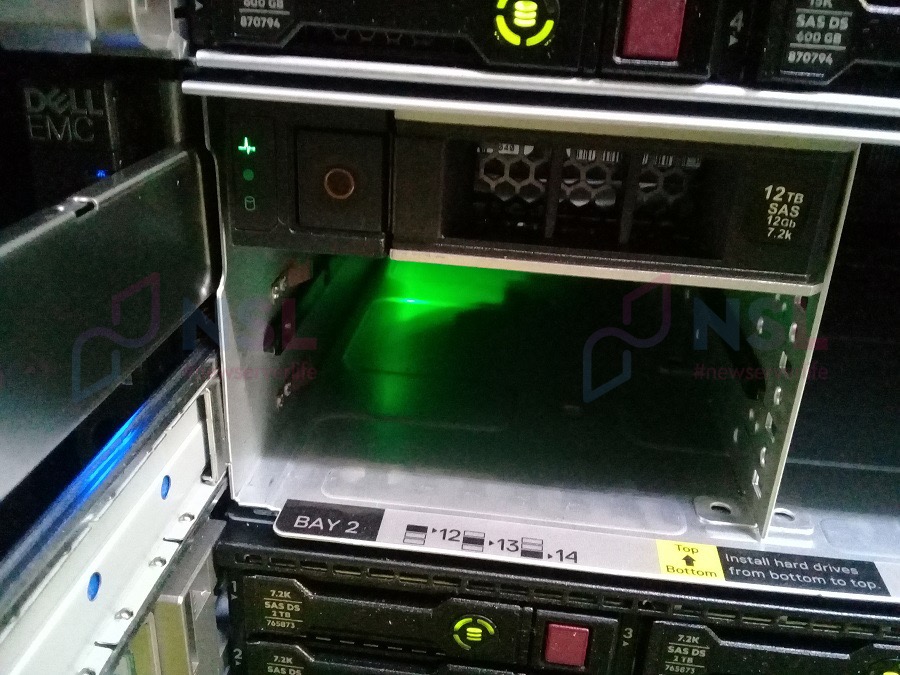
The LEDs are working as expected, and we can continue. Nine drives have been installed, and all are functioning properly.
To slide the primary drive tray back in, press the blue latches on the rails. Push it in. Everything should move smoothly.
That's done. Now, just put the blank back in place. Simple.
Lock the tray latch. By this time, the orange LED should have turned off.